The good news is when skin cancer is caught and treated early, it’s highly curable. The even better news? In its early stages of development, you are the one with the best chance of spotting any changes and letting our team know.
What can you do?
That’s simple and it only takes a few minutes – just examine your skin head-to-toe every month.
What To Look For
Because skin cancers appear in many shapes and sizes, it’s important to know the warning signs.
If you see a new spot, a changing spot or a spot that just doesn’t look right, it could be skin cancer.
This includes:
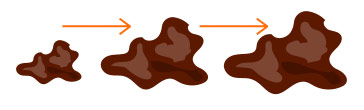
A growth that increases in size and appears pearly, transparent, tan, brown, black or multicolored.
A mole, birthmark or brown spot that increases in size, thickness, changes color or texture, or is bigger than a pencil eraser. Learn more about the ABCDEs of melanoma.
A spot or sore that continues to itch, hurt, crust, scab or bleed.
An open sore that does not heal within three weeks.
Performing Your 8-Step Self-Exam
Step 1: The face
Examine your entire face especially your nose, lips, mouth and ears — front and back.
Step 2: The scalp
Thoroughly inspect your scalp, using a blow-dryer and mirror to expose your skin. Another good idea: Get a friend or family member to help, when you can.
Step 3: The hands, wrists and forearms
In this step you’ll check your palms, back of your hands, between your fingers as well as under your fingernails and working your way up from here, including your wrists and the front and back of your forearms.
Step 4: The arms
Standing in front of the full-length mirror, begin at the elbows and scan all sides of your upper arms. Don’t forget your underarms.
Step 5: The torso and up
Here you will want to focus on your torso working your way up to your neck. Lift the breasts to view the undersides and check your armpits too.
Step 6: The upper back
With your back to a mirror, use the hand mirror to inspect the back of your neck, shoulders, upper back and any part of the back of your upper arms you could not examine in Step 4.
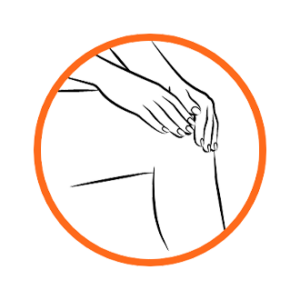
Step 7: The lower back
Still using both mirrors, scan your entire lower back, buttocks and backs of both of your legs.
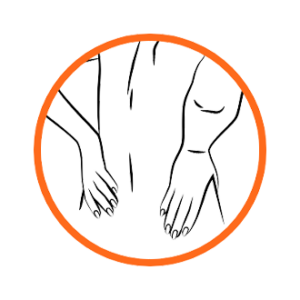
Step 8: The legs
Sit down; prop each leg in turn on another stool or chair. Check the front and sides of both your legs, thighs and shins. Then, finish with your ankles and feet, including soles, toes and nails (with any nail polish removed).
Normal Moles vs. Atypical Moles
Certain moles are at higher risk for changing into cancerous growths such as malignant melanoma, a more serious form of skin cancer. Moles that are present at birth and atypical moles have a greater chance of becoming cancerous. That’s why detecting and treating cancerous skin growths early is so important. Why? Because when caught early the treatment is usually highly effective with an extremely high cure rate.
What to Look For?
Use this ABCDE chart below to help you quickly and more easily identify any changes in your moles and make an appointment to see our team.
Asymmetry:
When half of the mole does not match the other half
Border:
When the border (edges) of the mole are ragged or irregular
Color:
When the color of the mole varies throughout
Diameter:
If the mole’s diameter is larger than a pencil’s eraser